 |
|
Reviews, updates and in depth guides to your favourite mobile games - AppGamer.com
|
|
new guy....simple question |
|
| Page: 1 | Reply |
| Aug 2nd 2006 | #174168 Report |
 Posts: 2 |
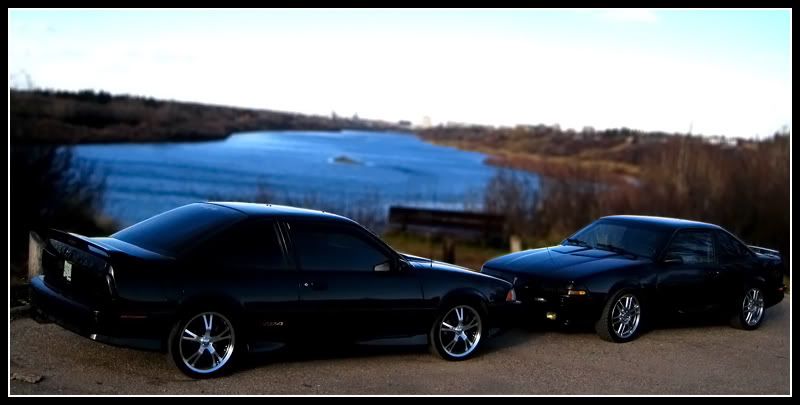
ok so heres what i want to know..... i like taking photos and i use photoshop to finish my pictures after i take them...... every picture i take i put the same border/name signiture on the bottom... like this...example before  After  ..So what i basicaly want to know is....is there anyway to set up photoshop to automaticly add my border and sig to my pics? like an option i can pre-set.its so much trouble to add the same thing to every pic... would be nice to just set it up and add the border/sig with just a click.... Thanks guys! |
| Reply with Quote Reply | |
| Aug 2nd 2006 | #174173 Report |
 Posts: 159 |
A post I made elsewhere... but the majority of it will be usefull in what you are looking to use. [start original post] Set up a batch action... Heres a crash course: With all the images in a centrally located foder create a new folder for the processed images to be placed in by photoshop. Now open Photoshop and open one of the images. On the right hand side of the photoshop window look at all those pallets and find the "actions" pallet. (if it isn't there go: Window > actions) At the bottom of the actions pallet click on the "create new action" button (second button from right) Name the action and click "record" (don't worry about the other stuff in there just name it where you'll know what it is) From this point ANYTHING you do to that open image will be recorded into this new action. SO, lets go to Image > Image size In this dialog box make sure "constrain proportions" (at the bottom) IS ticked and "Resample image" IS NOT. In the "resolution" field type in 72. Now, tick "Resaple image" and at the top in the "pixel dimensions type in your 600 X 450 desired size. Click OK. I assume you want them as .jpg for the web so now lets go: File > Save for Web. In that dialog on the right hand side select jpg format and on "quality" to keep the file size down select 30 (this will make about a 35k file at 600 X 450) and it will still look pretty nice. Click save and save it somewhere other than the new folder you created for photoshop to put the processed images. Now click the "stop" button on the bottom of the actions pallet. Ok, you now have an automated action that can process all those photos while you are out playing Golf or whatever you realtors do. Here is how you use it: Go: File > Automate > Batch In that dialog choose the action you just created by its name. In the "source" section choose "folder" in the dropdown menu and then click the "choose" button.... navigate to the folder where you have the original images and select it and click OK In the "output" section choose "folder" in the dropdown menu and click "choose" navigate to the new folder you created for photoshop to put the processed images in, select it and click OK Make sure the "override" options are UNTICKED In the file naming section you have to just use your own judgment... I usually use "document name" in the fist field and "extension" in the second field and leave the rest blank. Click OK and sit back and watch Photoshop work. [end original post] |
| Reply with Quote Reply | |
| Aug 3rd 2006 | #174180 Report |
 Posts: 2 |
oh man....i just tried this and it worked perfect.... you have just made my life sooooooooo much easier.....thank you thank you thank you!!!! awesome...... |
| Reply with Quote Reply | |
| Page: 1 | Back to top |
| Please login or register above to post in this forum |
| © Web Media Network Limited. All rights reserved. No part of this website may be reproduced without written permission. Photoshop is a registered trademark of Adobe Inc.. TeamPhotoshop.com is not associated in any way with Adobe, nor is an offical Photoshop website. |